What’s not to like..

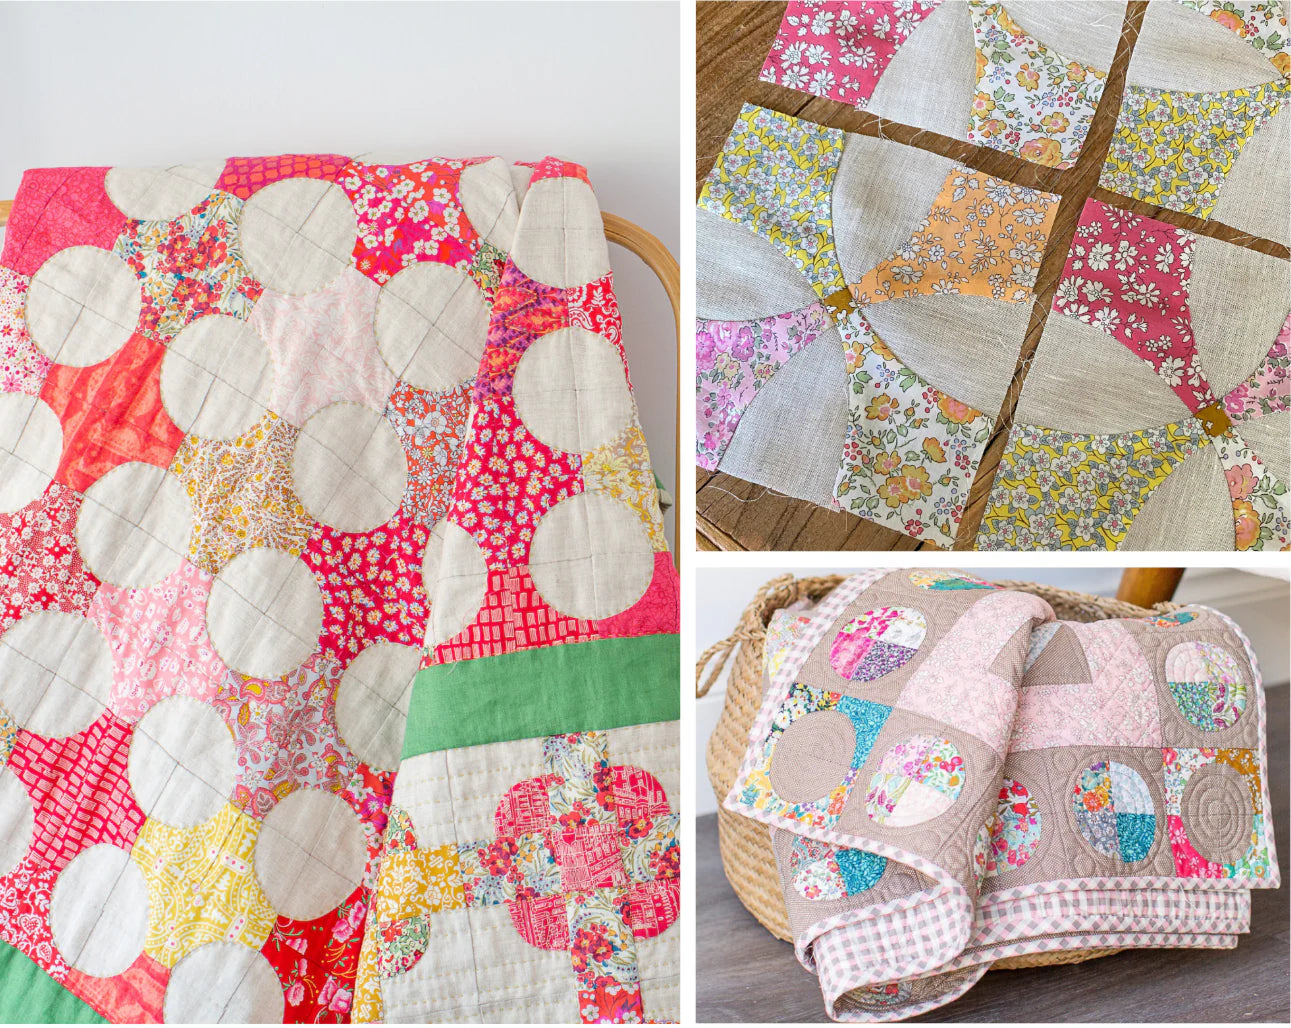
Liberty Tana Lawn is just beautiful - you probably don’t need convincing. Add to that a lightweight Linen and the effect is just amazing. The texture of Linen is the perfect offset for the often busy patterned Liberties. It gives your eye a place to rest so that you can appreciate the Liberty loveliness. That said, Linen is not always that cooperative to sew with. It moves a bit and depending on the weave can give you a few headaches.
I like to use a Lightweight Linen with my Liberties. Yes, it does fray a bit and yes, it’s not as easy to sew with as cotton fabric but really the effect of combining the two, results in a lovely tactile quilt that drapes just beautifully and can’t do anything but make you smile.
So, I’d like to give you a few tips to make sewing Linen and Liberty more enjoyable.

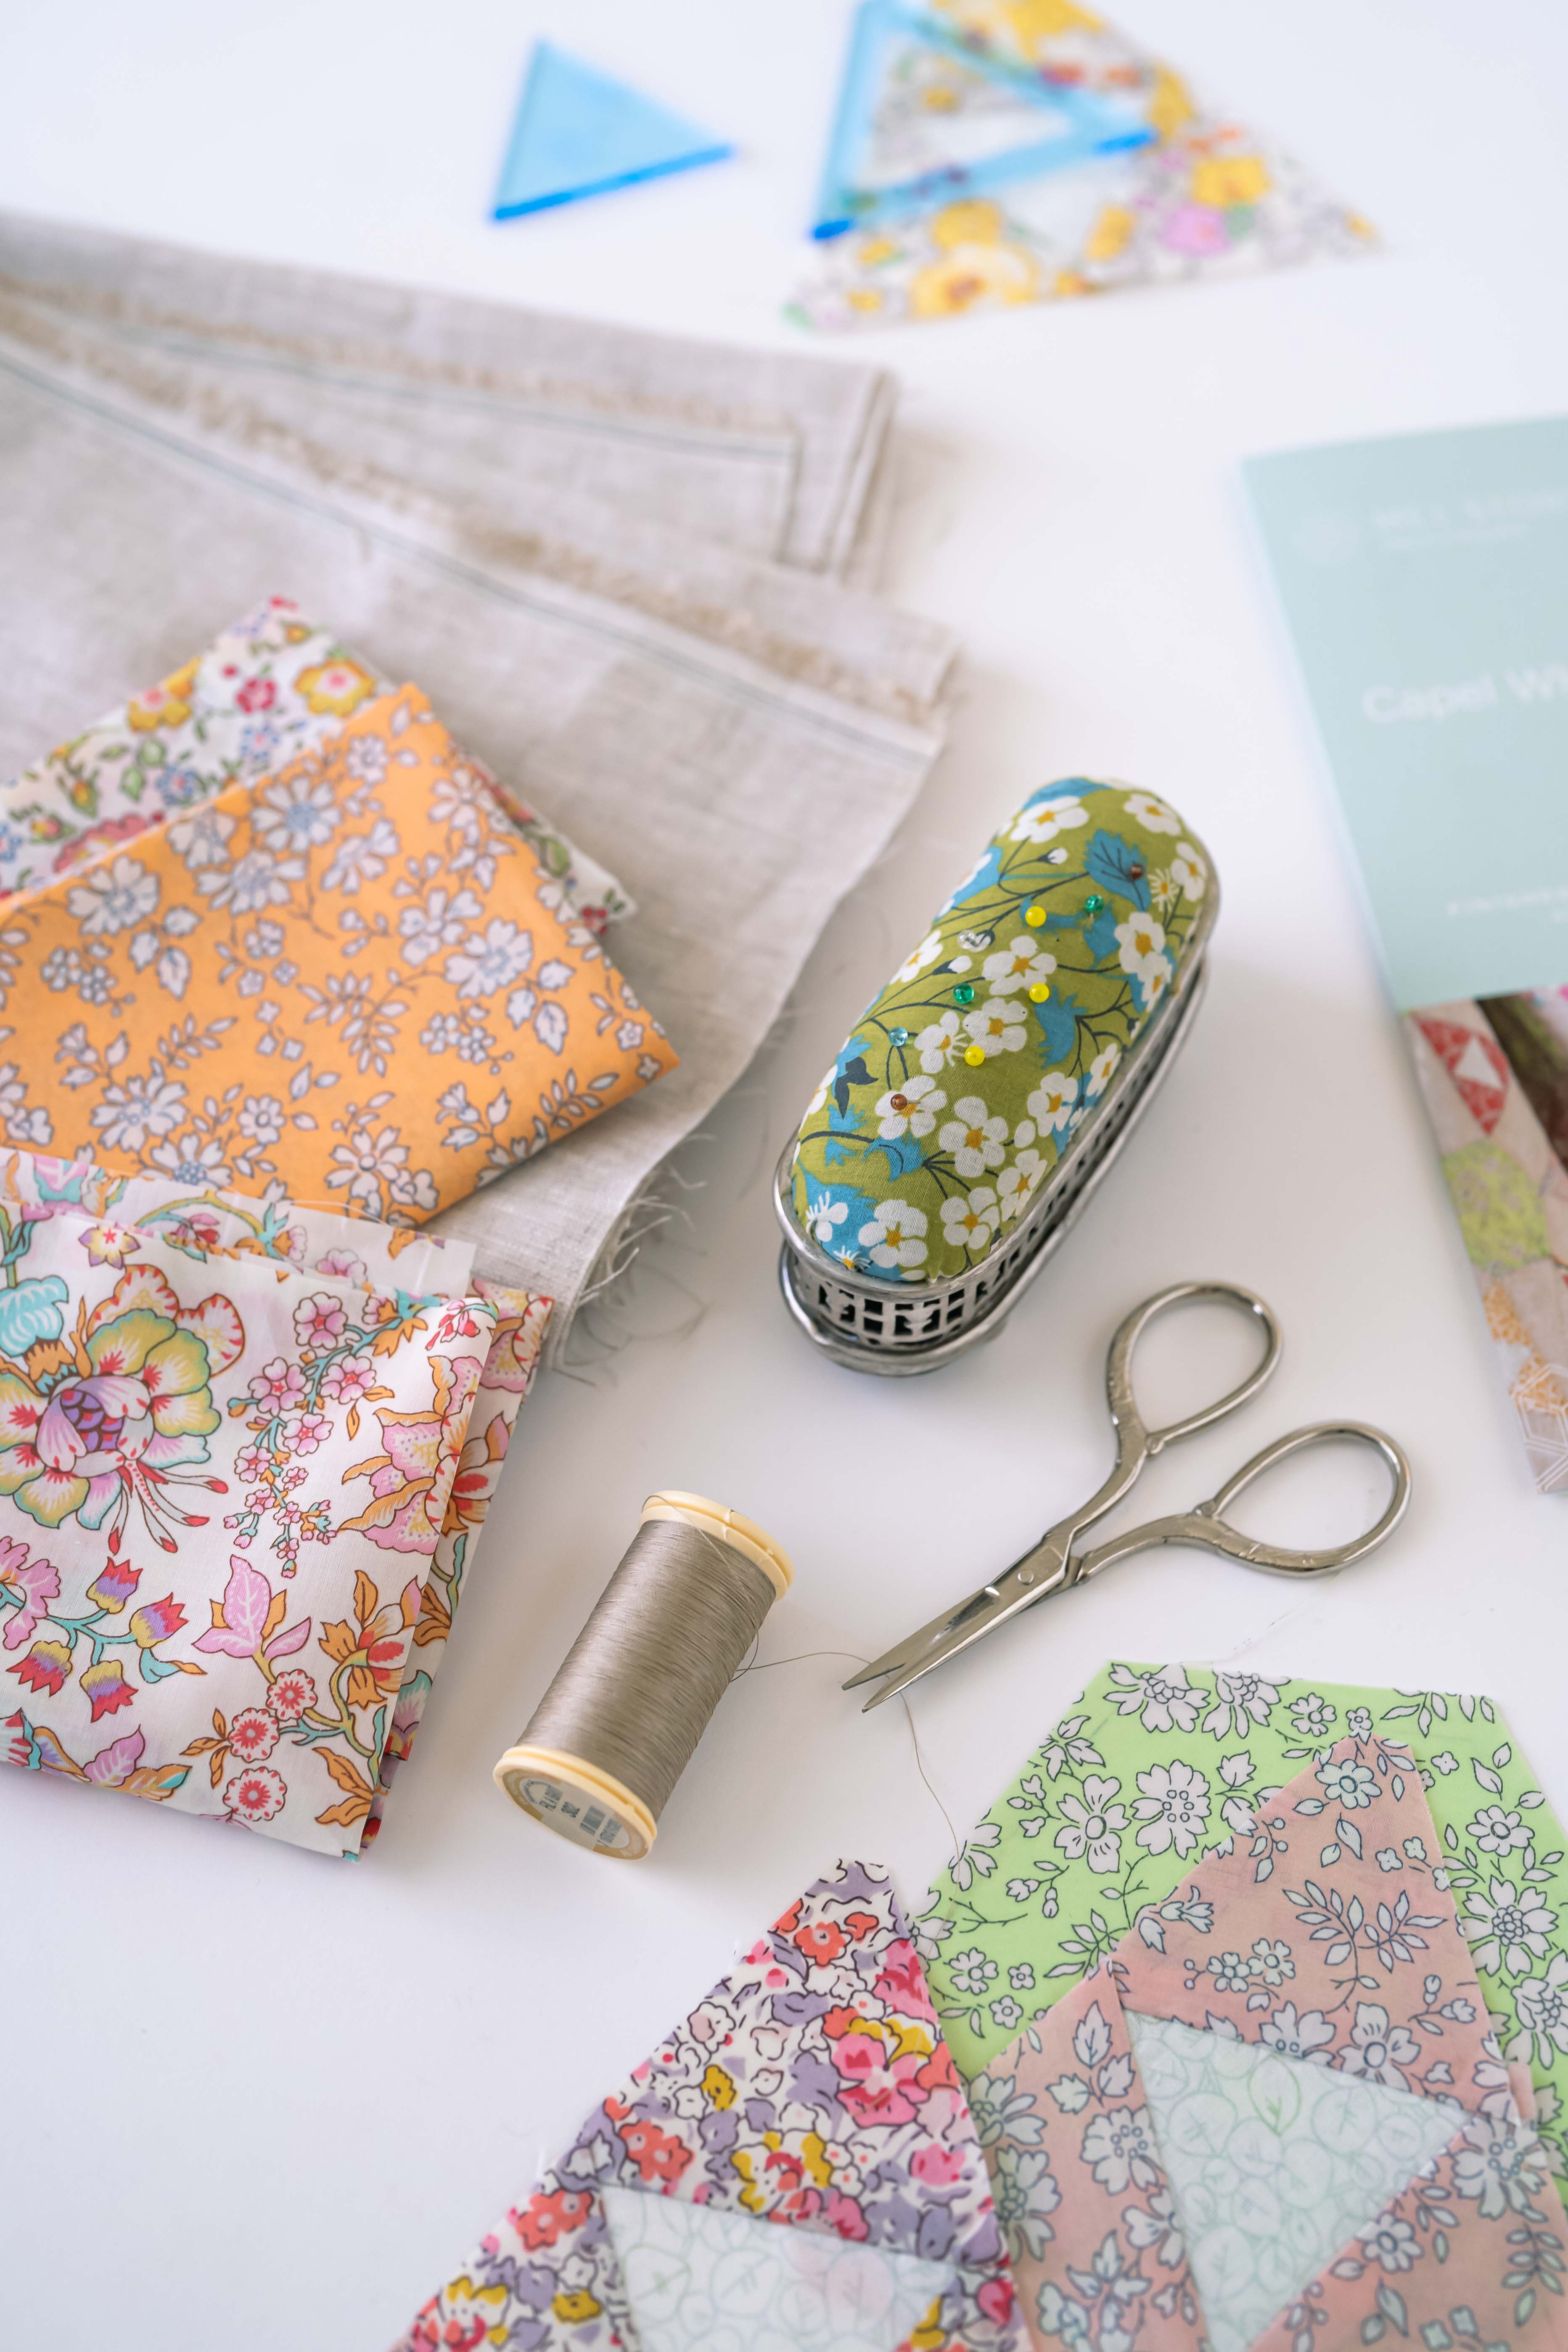
1. Use my method for cuttingI like to cut strips of Linen across the width of the fabric and use plexi-glass templates and a rotary cutter to cut my pieces. I talk more about this method in a previous blogpost here but the most important reason for this is, it keeps the edges of your pieces straight with the grain and minimises stretching or warping avoiding bias edges.
If you are cutting curved pieces, use a small rotary cutter (28mm) to get around the curve. For concave shapes, it is a fine line between cutting the curve and hitting the curve of the template. You can stop this happening if you lean your rotary cutter out a bit or cut the line a couple of threads away from the template. Remember, when you’re hand piecing it’s the sewing line that needs to be accurate, not necessarily your seam allowance.
You will get the hang of cutting curves with practice but if it’s all too hard, use an 18mm rotary cutter.

2. Mark the corners of your sewing lines firstWhen you are marking the sewing lines onto the wrong side of the fabric, (on a sandpaper board using a retractable pencil) - mark the corners first. This ensures they are in the right place, as sometimes the Linen can move or stretch a little when you mark the rest of the line between the points.

3. Use fine pins and needlesThe beautiful fine weave of Liberty Tana Lawn means you really should be using fine pins when working with it - otherwise it’s like stabbing rough holes into the fabric, which just seems wrong. The Linen I use is fairly fine but a more open weave than the Lawn, so you may need to add a couple of extra pins when you are piecing to keep your sewing lines aligned front and back. I like to use these pins.

Again, the needles you use should also be fine. Needles are such a personal choice, everyone has their favourites and opinions on what works and what doesn’t. I have been using Tulip needles for awhile now mainly because I can get fine needles that I don’t bend, and if you have ever tried threading a bent needle you will see why I have been using these. Unfortunately, they are a little difficult to find so I am trialing some different types of needles - I’ll let you know what I decide.
4. SEWING THREADSewing thread is again a personal choice. The important thing to consider is that it is fine enough to use with Linen and Liberty, without breaking or knotting too much.
My favourite is Fil à Gant - a French thread that I now stock because quite simply I love using it and I was finding it hard to source locally.
Three reasons I love it:
-
It is so easy to thread your needle - even very fine needles
-
The stitches seem to melt into the Linen and Liberty which gives a great result - especially around curves.
-
It doesn’t tend to knot when you are sewing

5. PRESSINGI usually like to just finger press my pieces once they are joined. I find the heat of your hand is usually OK or sometimes if I have a finger presser handy I’ll use this.
Once my final block is together I’ll press my sewing with an iron. Take care not to stretch your block when you do this - especially when the Linen is on the outer edges. That being said, if your block is looking a little wonky, gently use the iron and steam to nudge it back into shape.

6. CHECK YOUR EXTERIOR SEWING LINESIf you feel like your Linen has moved a bit when you stitched your block, use a patchwork ruler if you have one the right size or make a template out of templastic to the finished size of your block. Correct any sewing lines if need be with a green ceramic pencil. This ensures any size differences in blocks given the inherent movement of the Linen are not carried forward and keeps your quilt square.

Most importantly, enjoy hand piecing your Linen and Liberty - the effect of the two textiles together is just amazing. Take it slow and you will be rewarded with a timeless quilt.
Until next time, happy stitching.
Mel


Leave a comment