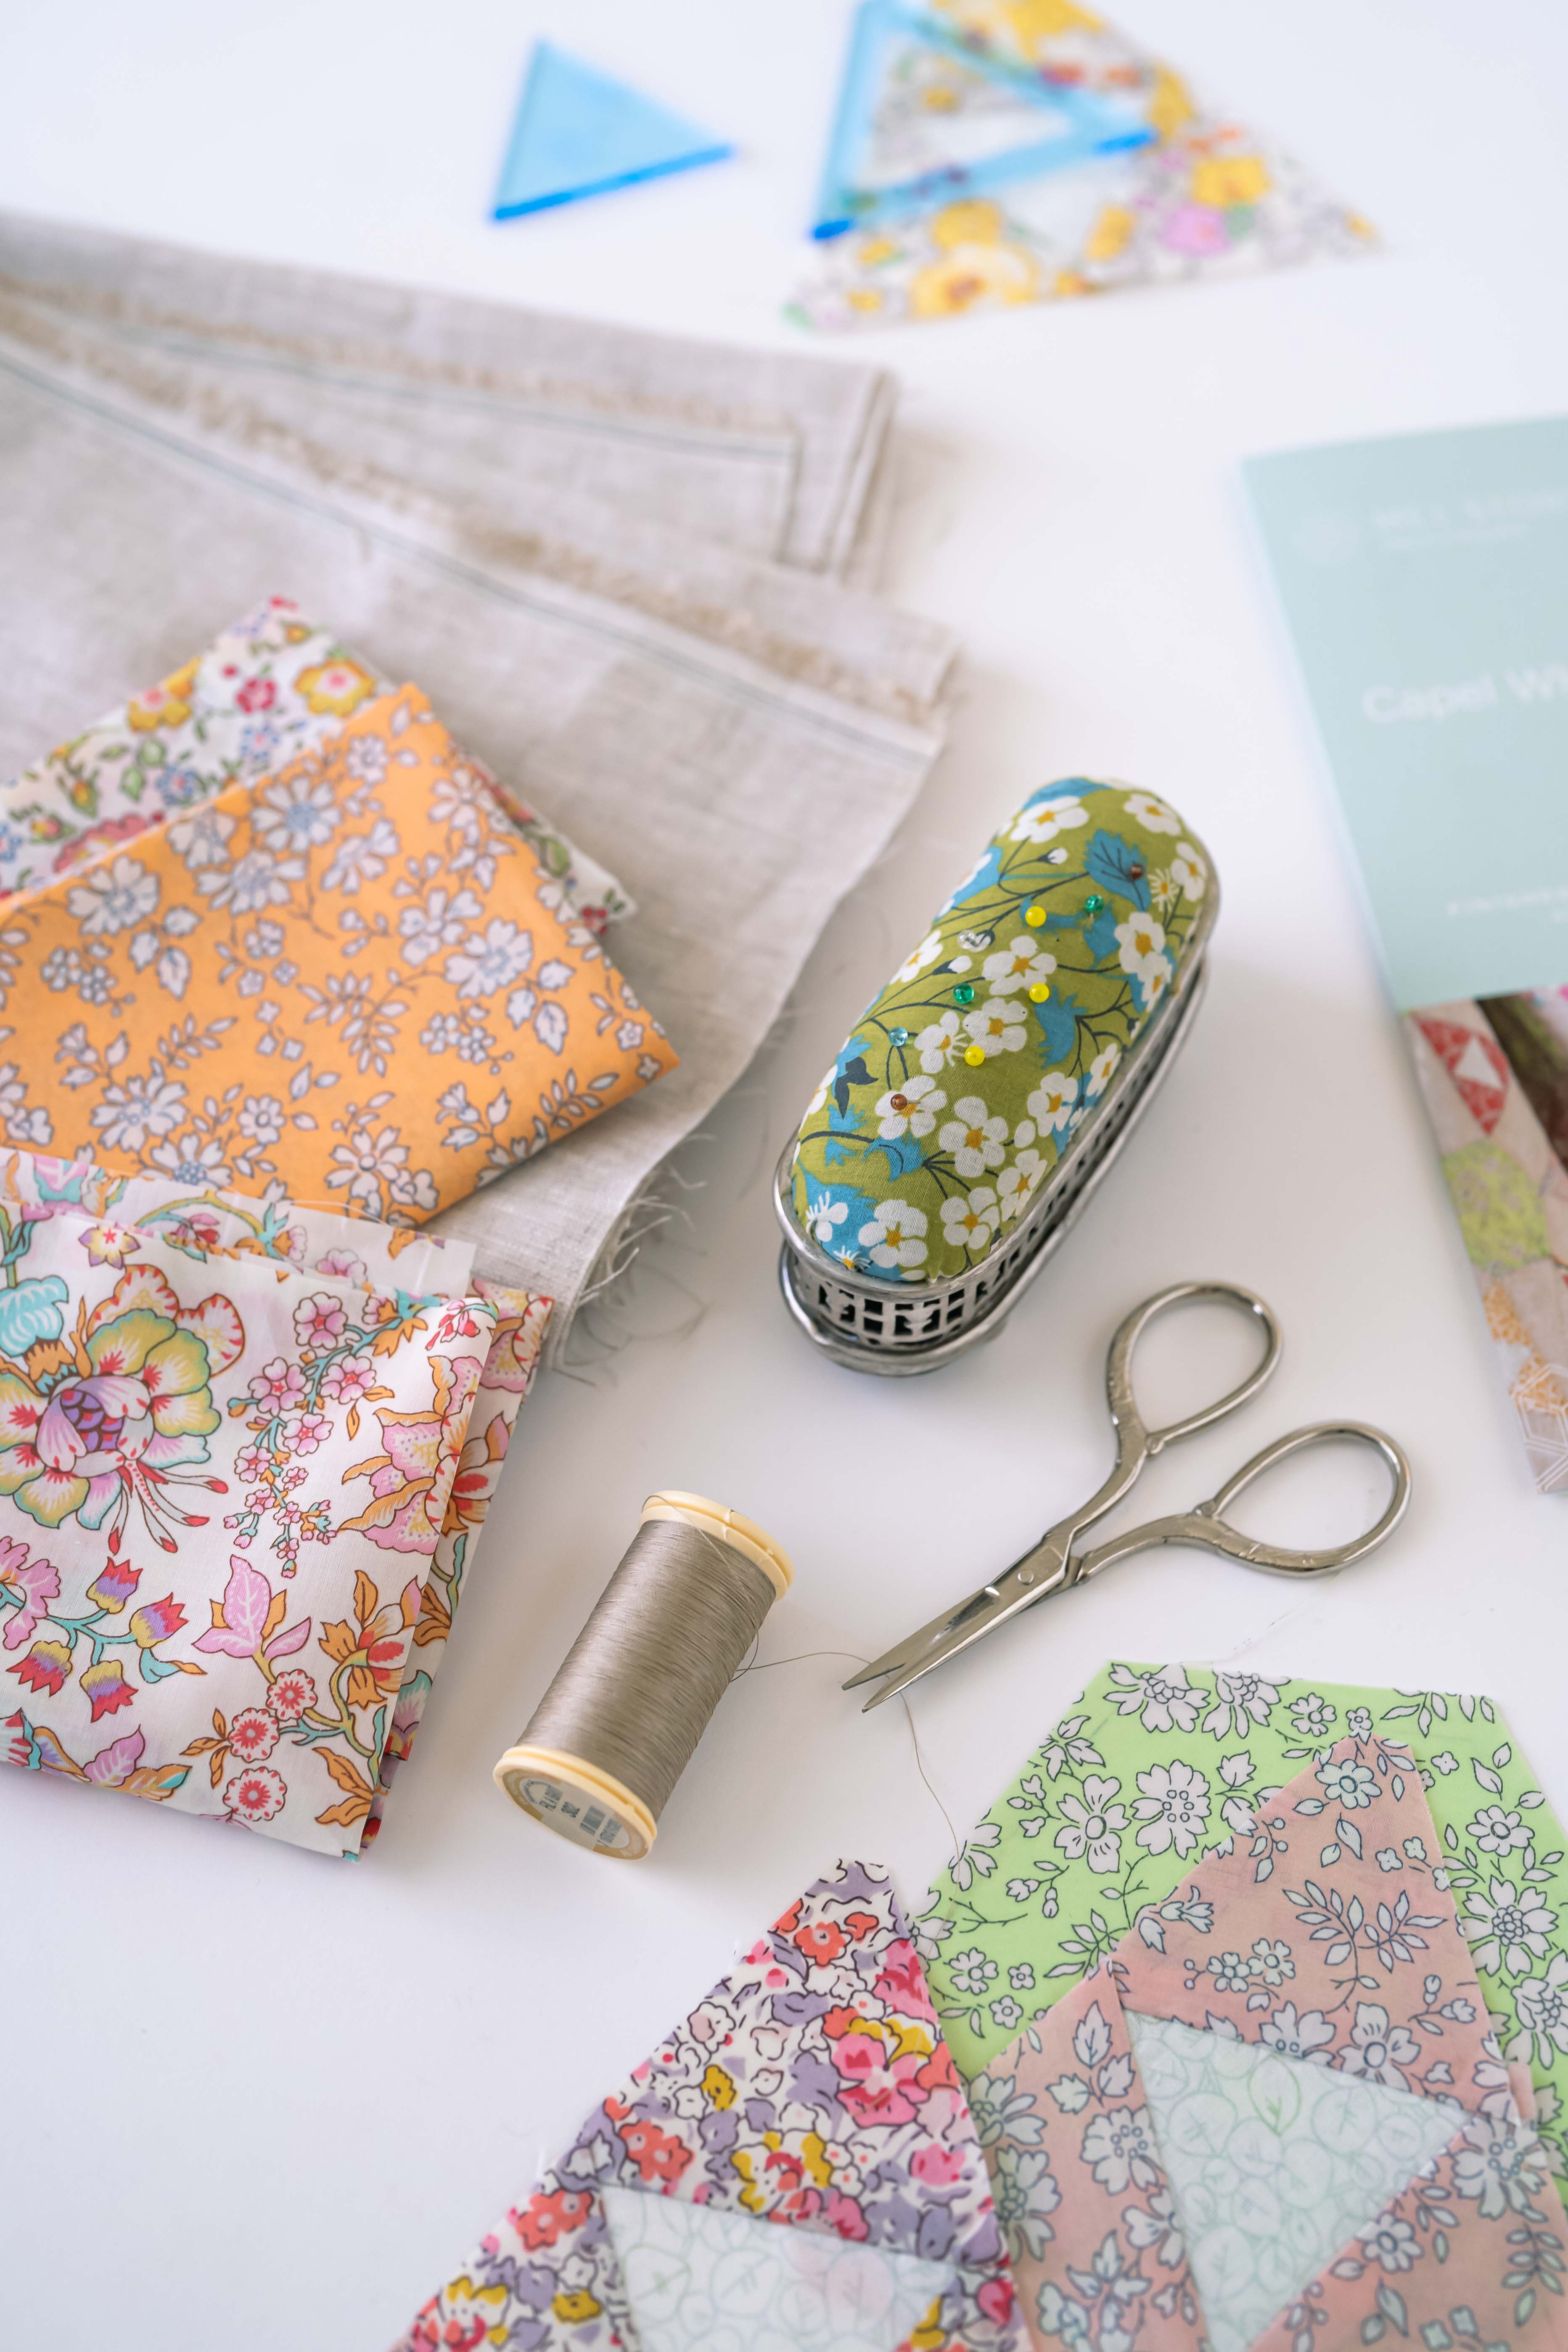
 If you’ve been hand piecing with me for a while, you’ll know how much I love anything that makes preparation calmer, quicker, and more enjoyable — and patchwork stamps absolutely tick all those boxes.
They’re such a simple tool, but a few small tips can make all the difference. I’m a fairly new convert to Patchwork Stamps, so it’s been a bit of a learning curve - but here’s what I’ve learn’t so far.
Before You Start Stamping
Press your fabric, including the centre fold if you have one.
If you can, cut your fabric into strips first.
You’ll know this is my go-to to save time in fabric prep but pre-cut strips does makes cutting out your shapes later so much easier.
Less handling, especially if you are using Linen - makes for a more enjoyable process.

You need to decide whether you’re going to cut your strips exactly the width you need - if so you need to place your fabric strips on paper when stamping and rotate the paper, allowing a little time for the ink to dry in between time as no matter how careful you are, you’re sure to get some overlap.
Alternatively add a fraction more to the width of your strips - maybe an 1/8th” - so that there is no overlap of your ink.

Use suction handles
and before inking, make sure it's firmly secured to the stamp. It’s a small step, but better safe than sorry. If you are using a larger stamp, use 2 suction handles.
Stamping Your Fabric
When it comes to inking your stamp, really less is more.
Don’t overly ink your stamp and if this is your first try at stamping, try on a scrap piece of fabric first. That way you can see how much ink coverage you’re getting before moving on to your project.
If your stamp pad is new you may be able to stamp 2 shapes for each inking. Older stamp pads, ink for each shape.
A time-saving option I’ve found is to lay out three or four fabric strips on a piece of paper and stamp multiple strips at once. It speeds things up beautifully and keeps everything neat.

If you’ve cut your strips exactly to size, not matter how careful you are, you’ll notice some ink transferring onto the paper - that’s ok. Simply rotate pieces of paper and allow a little drying time between stamping rounds. This prevents any stray ink transferring onto the right side of your fabric strips.
My favourite ink pads to use are the Sahara Sand - a brown or sepia coloured ink and the Cloud white - for darker fabrics.
Just a note - I will say though if you are stamping on dark fabric and using the Cloud White Ink - the consistency of the ink does seem to be a little thicker than the Sahara Sand and the lines you get once stamped aren’t as fine.

Maybe I’m a little heavy handed but if this is the case - when you’re sewing, I’d choose where you’re going to place your stitches - on the inside or outside of the line and be consistent with this. If you are sewing a lot of shapes together, this can make quite a difference.
Cutting Your Pieces
Once stamped, cut out your shapes using the dotted line as your guide.

If you are using Liberty Tana Lawn or pale coloured fabrics - I like to cut just inside the dotted line. This helps alleviate any chance of ink lines showing through lighter fabrics once everything is stitched together.
Looking After Your Stamps and Ink Pads
A little care goes a long way when it comes to stamp maintenance.
After use, wash your stamps with warm soapy water, rinse well, dry them off, and then allow them to air dry completely before storing.
When you’re finished stamping, always replace both the inner and outer covers on your ink pad. Even if you take a small break from stamping, replace the inner cover to stop the ink from drying out while you're away.
A More Enjoyable Way to Stitch
Patchwork stamping is one of those small things that can completely change the feel of your stitching time — less prep, more sewing, and a lovely sense of rhythm once you get going. You may not use this technique of fabric prep every time but it’s nice to have the option when you need it.
The Patchwork Stamps I stock are made in Australia. They have a solid line - which is your sewing line and a dotted line which is your cutting line. They come in a fantastic array of shapes that make prep so much quicker for projects where you have a lot of repetitive shapes and are also fabulous for using up those precious Tana Lawn scraps.

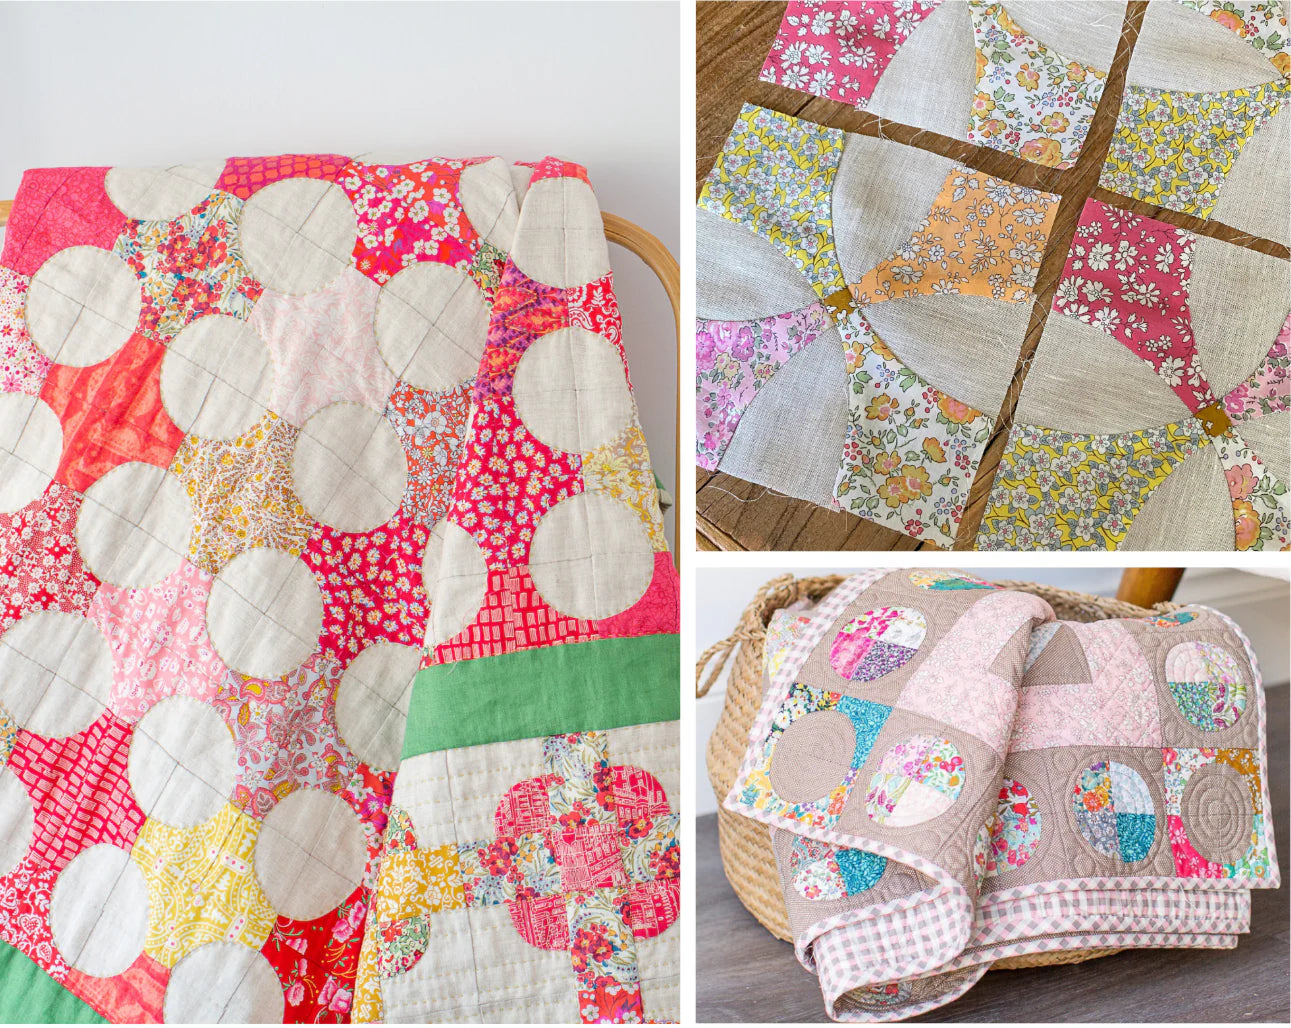
I used patchwork stamps to mark the squares for my most recent quilt finish - Summer Sweep. It was a quilt that I started by machine, then pivoted to hand piecing and ending up stamping the remainder of the squares.

Easy but accurate prep, keeping the focus where it belongs: on the rhythm of stitching and the beauty of the Tana Lawn.
If you’ve been curious about stamps or are just getting started, I hope these tips help you feel confident to give them a go. As always, there’s no rush — just enjoy the process, one stitch at a time.
Happy stitching,
Mel


Leave a comment