
So, hand piecing..
For me, it’s the best way I know to get a bit of calm in my life and I know I’m not alone in thinking that.
For others, it’s relatively unknown, scary or just impossible to contemplate, especially without papers. So, I thought I’d share a few tips with you about how I prep my hand piecing.
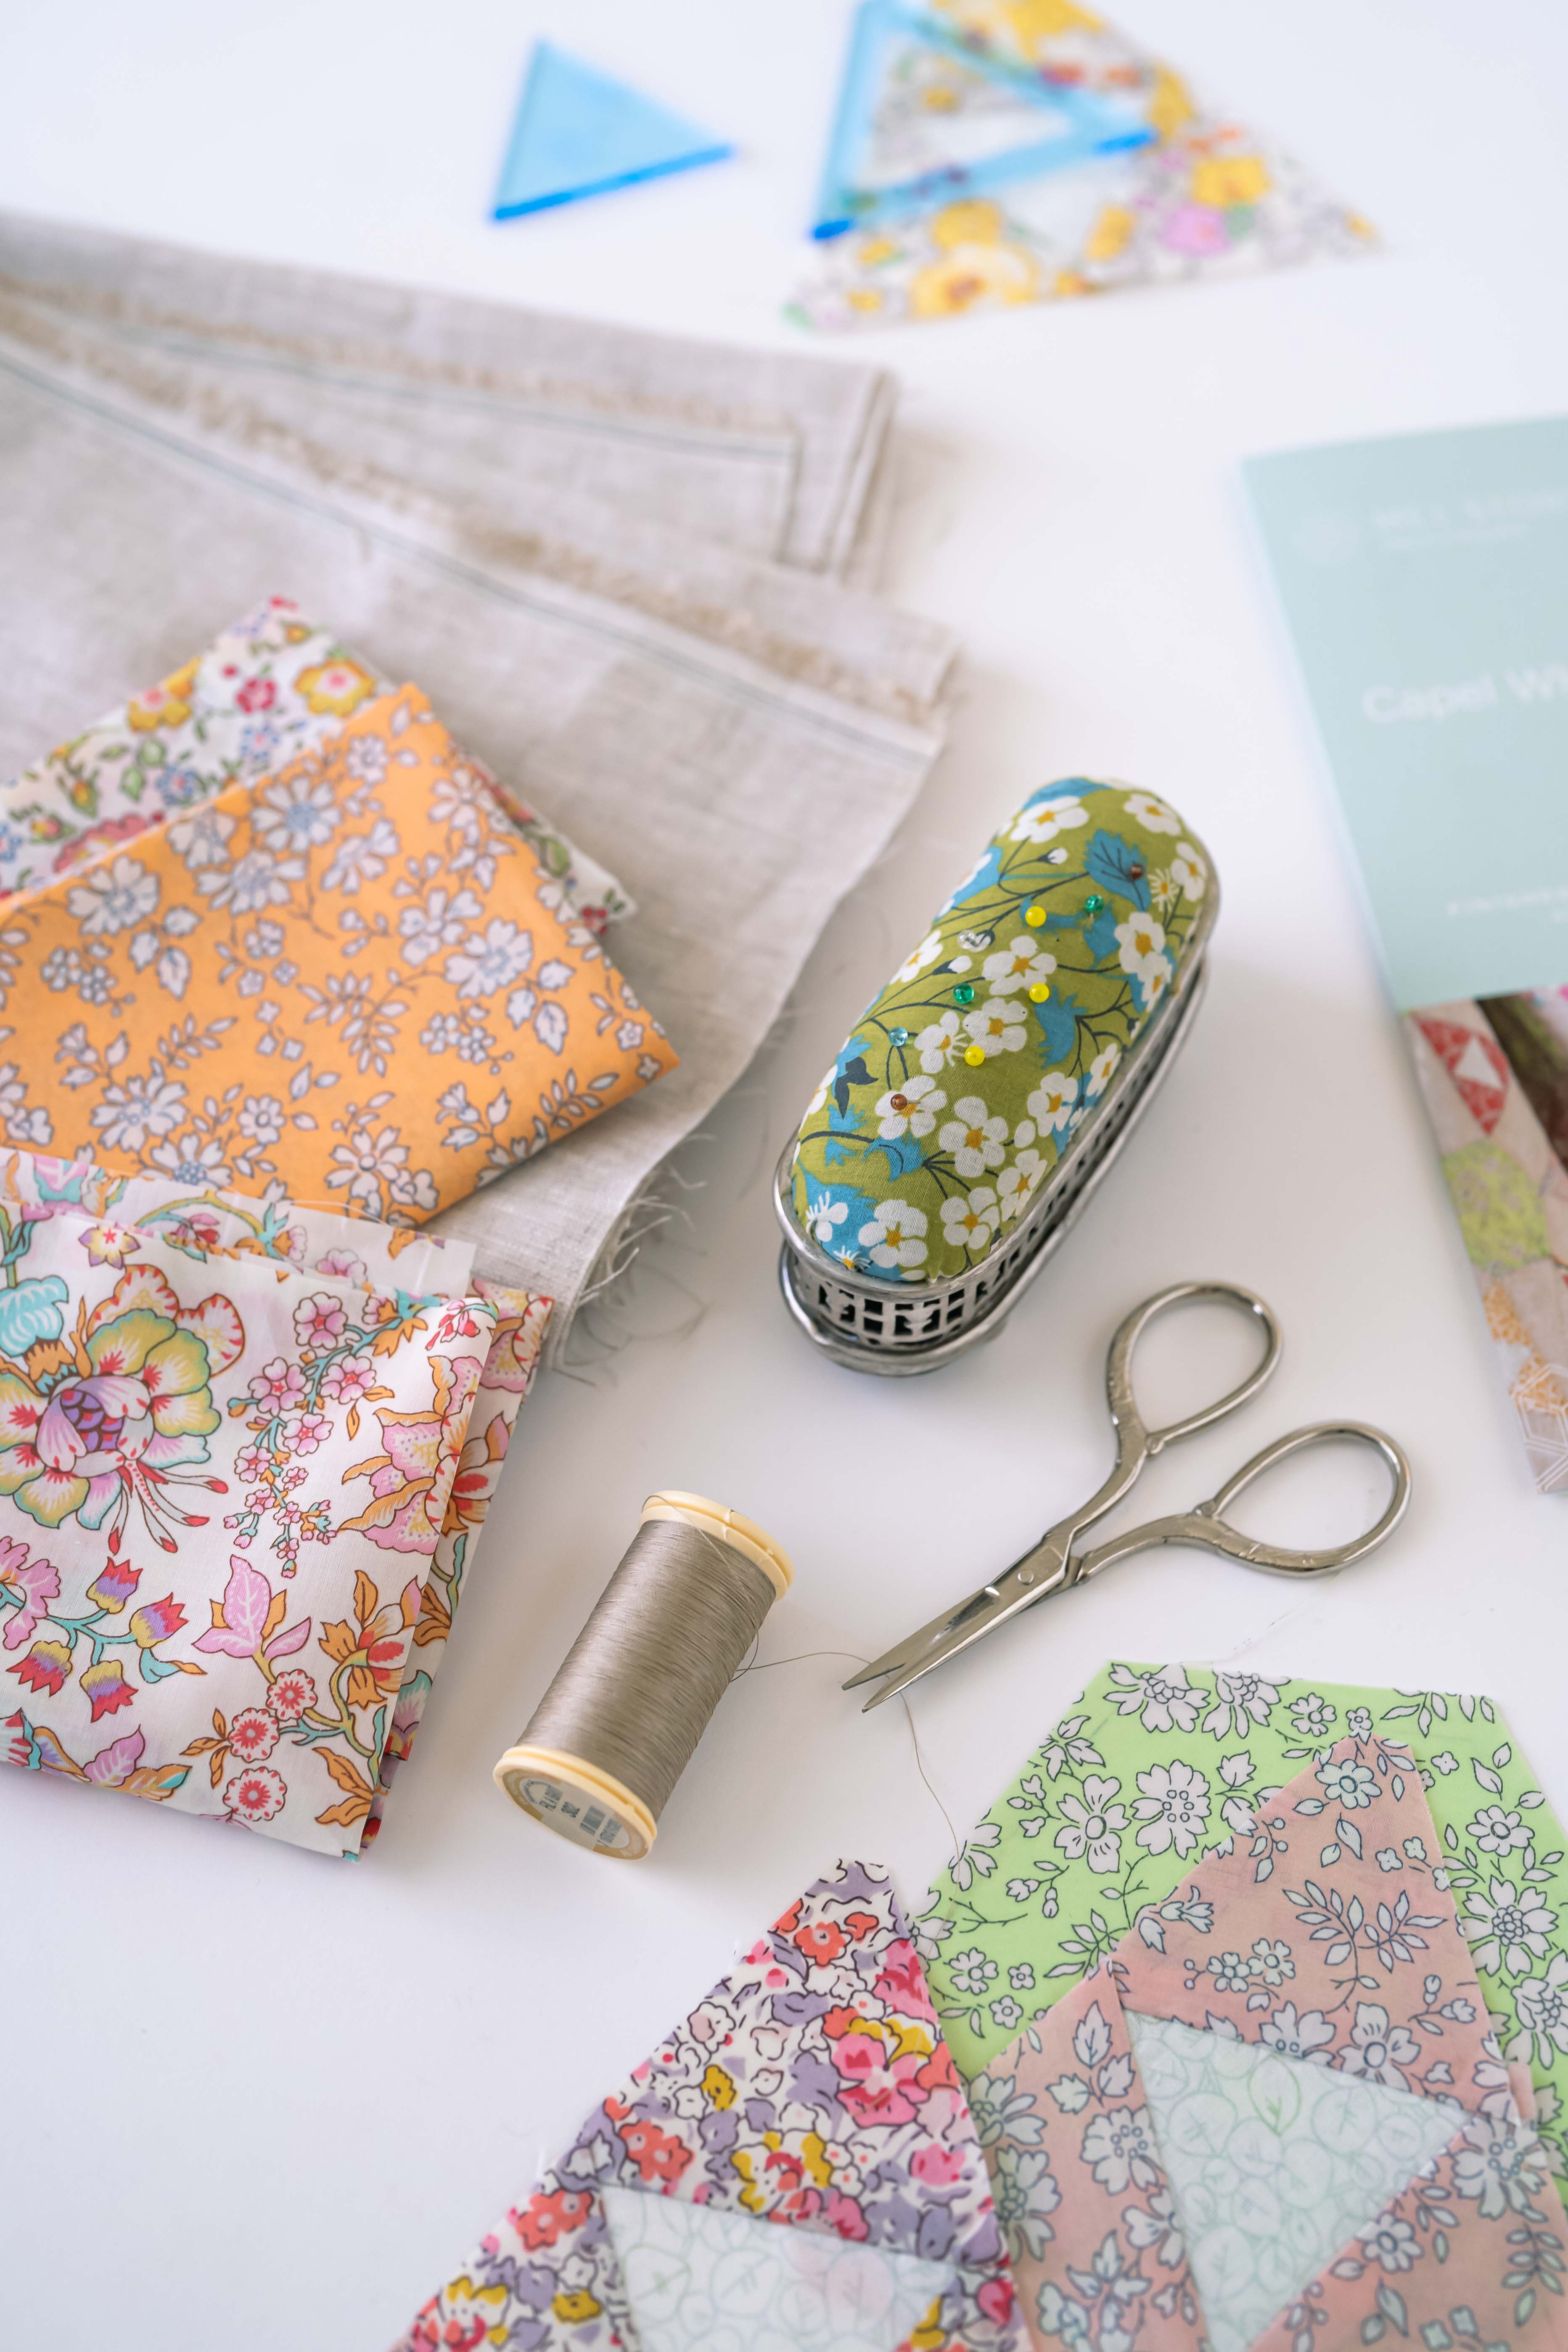
Initially, when I first learned hand piecing it was all about making your own templates from templastic and although I’ve been doing it that way for years, really the finished result depends on how good you are at cutting - and cutting around curves - that’s not fun. Fast forward a few decades and the era of plexi glass templates is making our patchwork lives much easier.
When I first decided to start sharing my quilt designs with you, I thought about the whole process of making a quilt from start to finish and decided which parts I liked the most and which parts I’d happily speed through. Cutting and marking fabric pieces is one of those things that I wish I could click my fingers and get it done.
So, here is my hand piecing prep philosophy.

1. STREAMLINE YOUR CUTTING - CUT STRIPS across the width of fabric
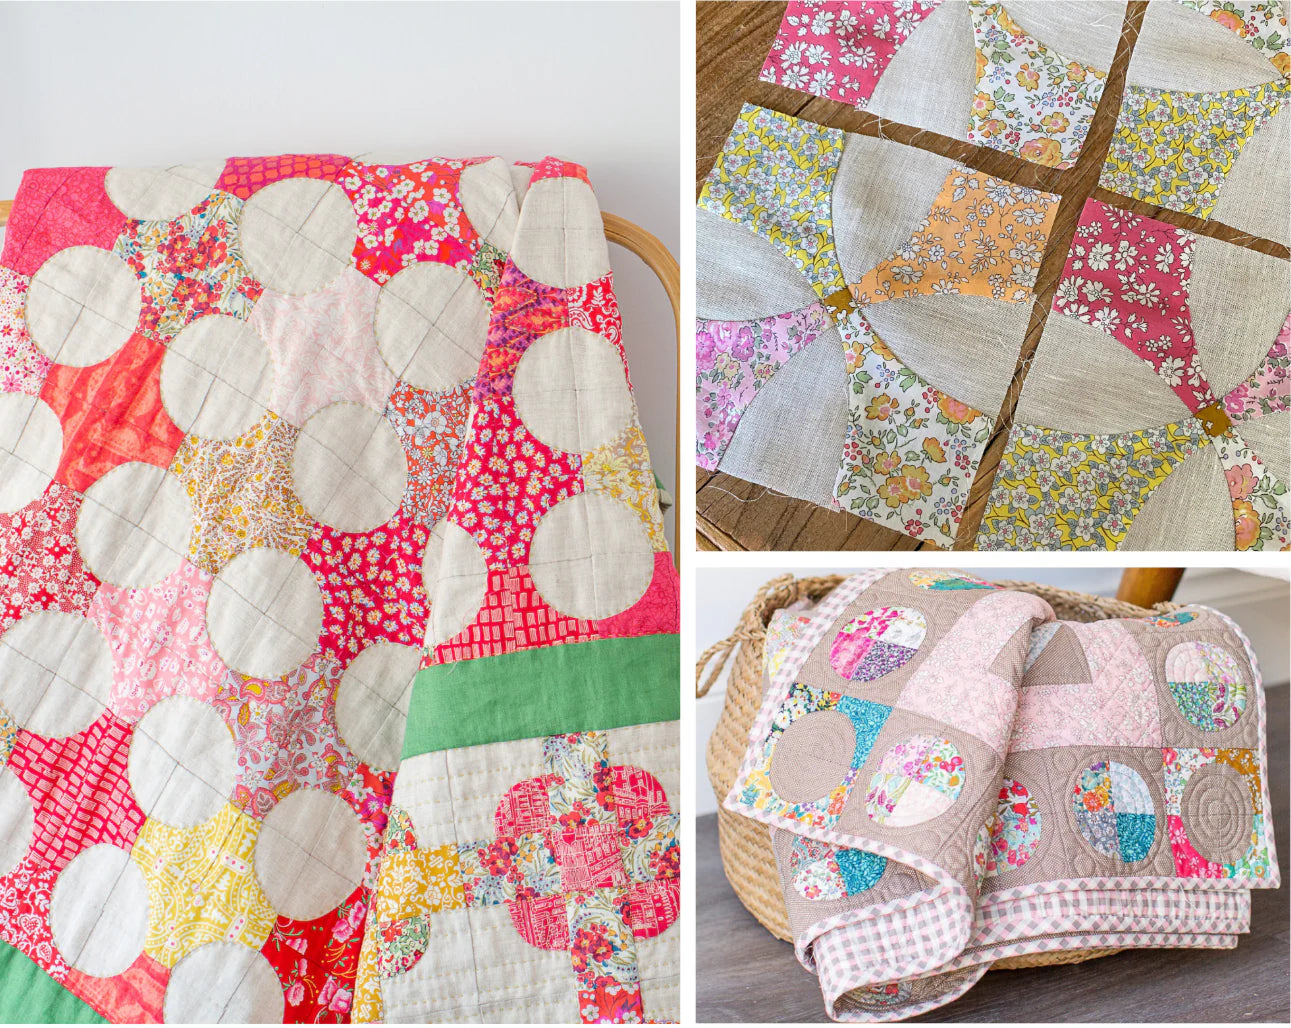
If you have a quilt pattern that has a shape that repeats a lot, or if there are a lot of background pieces in the same fabric - for example, the Quarter circle blocks in my Beaumont Square quilt - cut strips…
Even if it’s hexagons - cut strips…
WHY? - It’s quick, it’s accurate. Cutting your pieces from strips makes sure that the edges of your pieces are straight with the grain which will save you a whole lot of angst when you piece - no more stretching or warping with bias edges.
You may be thinking, well this is all well and good but I want to use my Liberty scraps. If this is the case, cut where you can and try to keep the straight edge of the template consistent with the grain - do the best you can, it’s all about conserving the Liberties after all.

Beaumont Square Quilt Pattern
2. USE TEMPLATES WITH REMOVABLE SEAM ALLOWANCESPlexi-glass templates are the bomb as far as I’m concerned and if they come with a removable seam allowance, well…. happy days.
For years I’ve struggled with those templates with small holes in the corners. Let’s face it - they are great for machine piecers.
So, WHY is a removable seam allowance so good?
Well, imagine you have over 200 quarter circles and their backgrounds to cut..
Have a look at what you need to cut a lot of and cut strips across the WOF. In Beaumont Square, it’s the Linen quarter circle that you need.
Attach your seam allowance to your template with a piece of tape and you’ve got your cutting template.
Lay your strips out on a cutting board and depending on whether it’s Linen, Liberty or just cotton fabric, you may be able to cut through either 2 or 4 layers of fabric. I usually use a lightweight linen in my quilts and by streamlining your cutting in this way, you can cut 4 pieces at once - this saves so much time.
A tip to not waste fabric, and this will depend on your template shape - flip your template each time and you’ll get more pieces out of each strip.
Now, with your pieces all cut - remove the tape from your template and take off the seam allowance. So easy… you now have a template to mark your sewing lines.
I always use this centre part for marking - not only is it easier to hold with less chance of it slipping, it gives you a more accurate result which is important when you are piecing with small blocks.

3. USE A SMALL ROTARY CUTTER FOR CURVESIf you have seen any of my quilts, you might have noticed my slight obsession with Quarter circle blocks. What can I say… they make me happy.
The only way you’re going to get a good result cutting curved pieces with templates, especially when they are small and you layer several pieces of fabric at once is - a small rotary cutter (28mm). And for the concave curve a 18mm rotary cutter is fabulous.
A tip, if you are just starting out using a rotary cutter with templates - just layer 2 strips of fabric at once until you get used to it. Take it slow around the curve and if you have a rotating cutting board you may find it easy to rotate it for the opposite curve on the next piece.
As for cutting curves with your Liberty scraps. Ideally, we want the curve on the bias - it will make sewing your curves so much easier. This is not always possible when you are using scraps but given Liberty lawn is so fine, it is fairly forgiving - you might just need a few extra pins and take some smaller stitches to get around the curve.

4. USE A SANDPAPER BOARD FOR MARKINGA sandpaper board is so important when you are marking your sewing lines - especially when you are marking Linen which tends to move a bit. The sandpaper will stop your pieces moving and allow you to mark your lines accurately. If you don’t have a sandpaper board, grab a sheet of sandpaper (not too coarse) from your local hardware store.
Remember to remove the seam allowance from your template and layout your cut pieces onto the board. Mark the sewing line onto the wrong side of the fabric with a retractable pencil - pay particular attention to your points as they will help determine the accuracy of your sewing.
I know it’s not all about speed with hand piecing, it’s the journey - but I hope these tips make your journey more enjoyable.
If you are new to hand piecing or contemplating starting your quilting journey, let me know if I can help you in any way. Also, if you haven’t already, you can view my free access to mini tutorials and stay in the know with what comes next.
Until next time, happy stitching
Mel


Leave a comment