Let me give you the ultimate gift!!

It all comes down to what do we wish we had more of?
The answer would often be time..
Time to relax, time to create, time to be with loved ones..
And whilst the list could go on, I’d love to show you a way to save time on your fabric prep so you can relax into the stitching sooner.
For me stitching is the ultimate relaxation
and the sooner I get to it, the better. If you have read some of my previous blog posts on fabric prep, you’ll know my favourite tip is to cut strips.
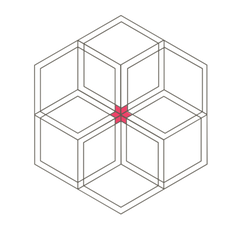
If you’re a hand piecer, you will have been there, endlessly tracing background pieces for a quilt - the ultimate time drainer. Fitting in for example hexagons in amongst themselves - it’s all a bit of a jigsaw and then cutting, well.. that takes a bit of concentration and isn’t a whole lot of fun - I’d rather be stitching.
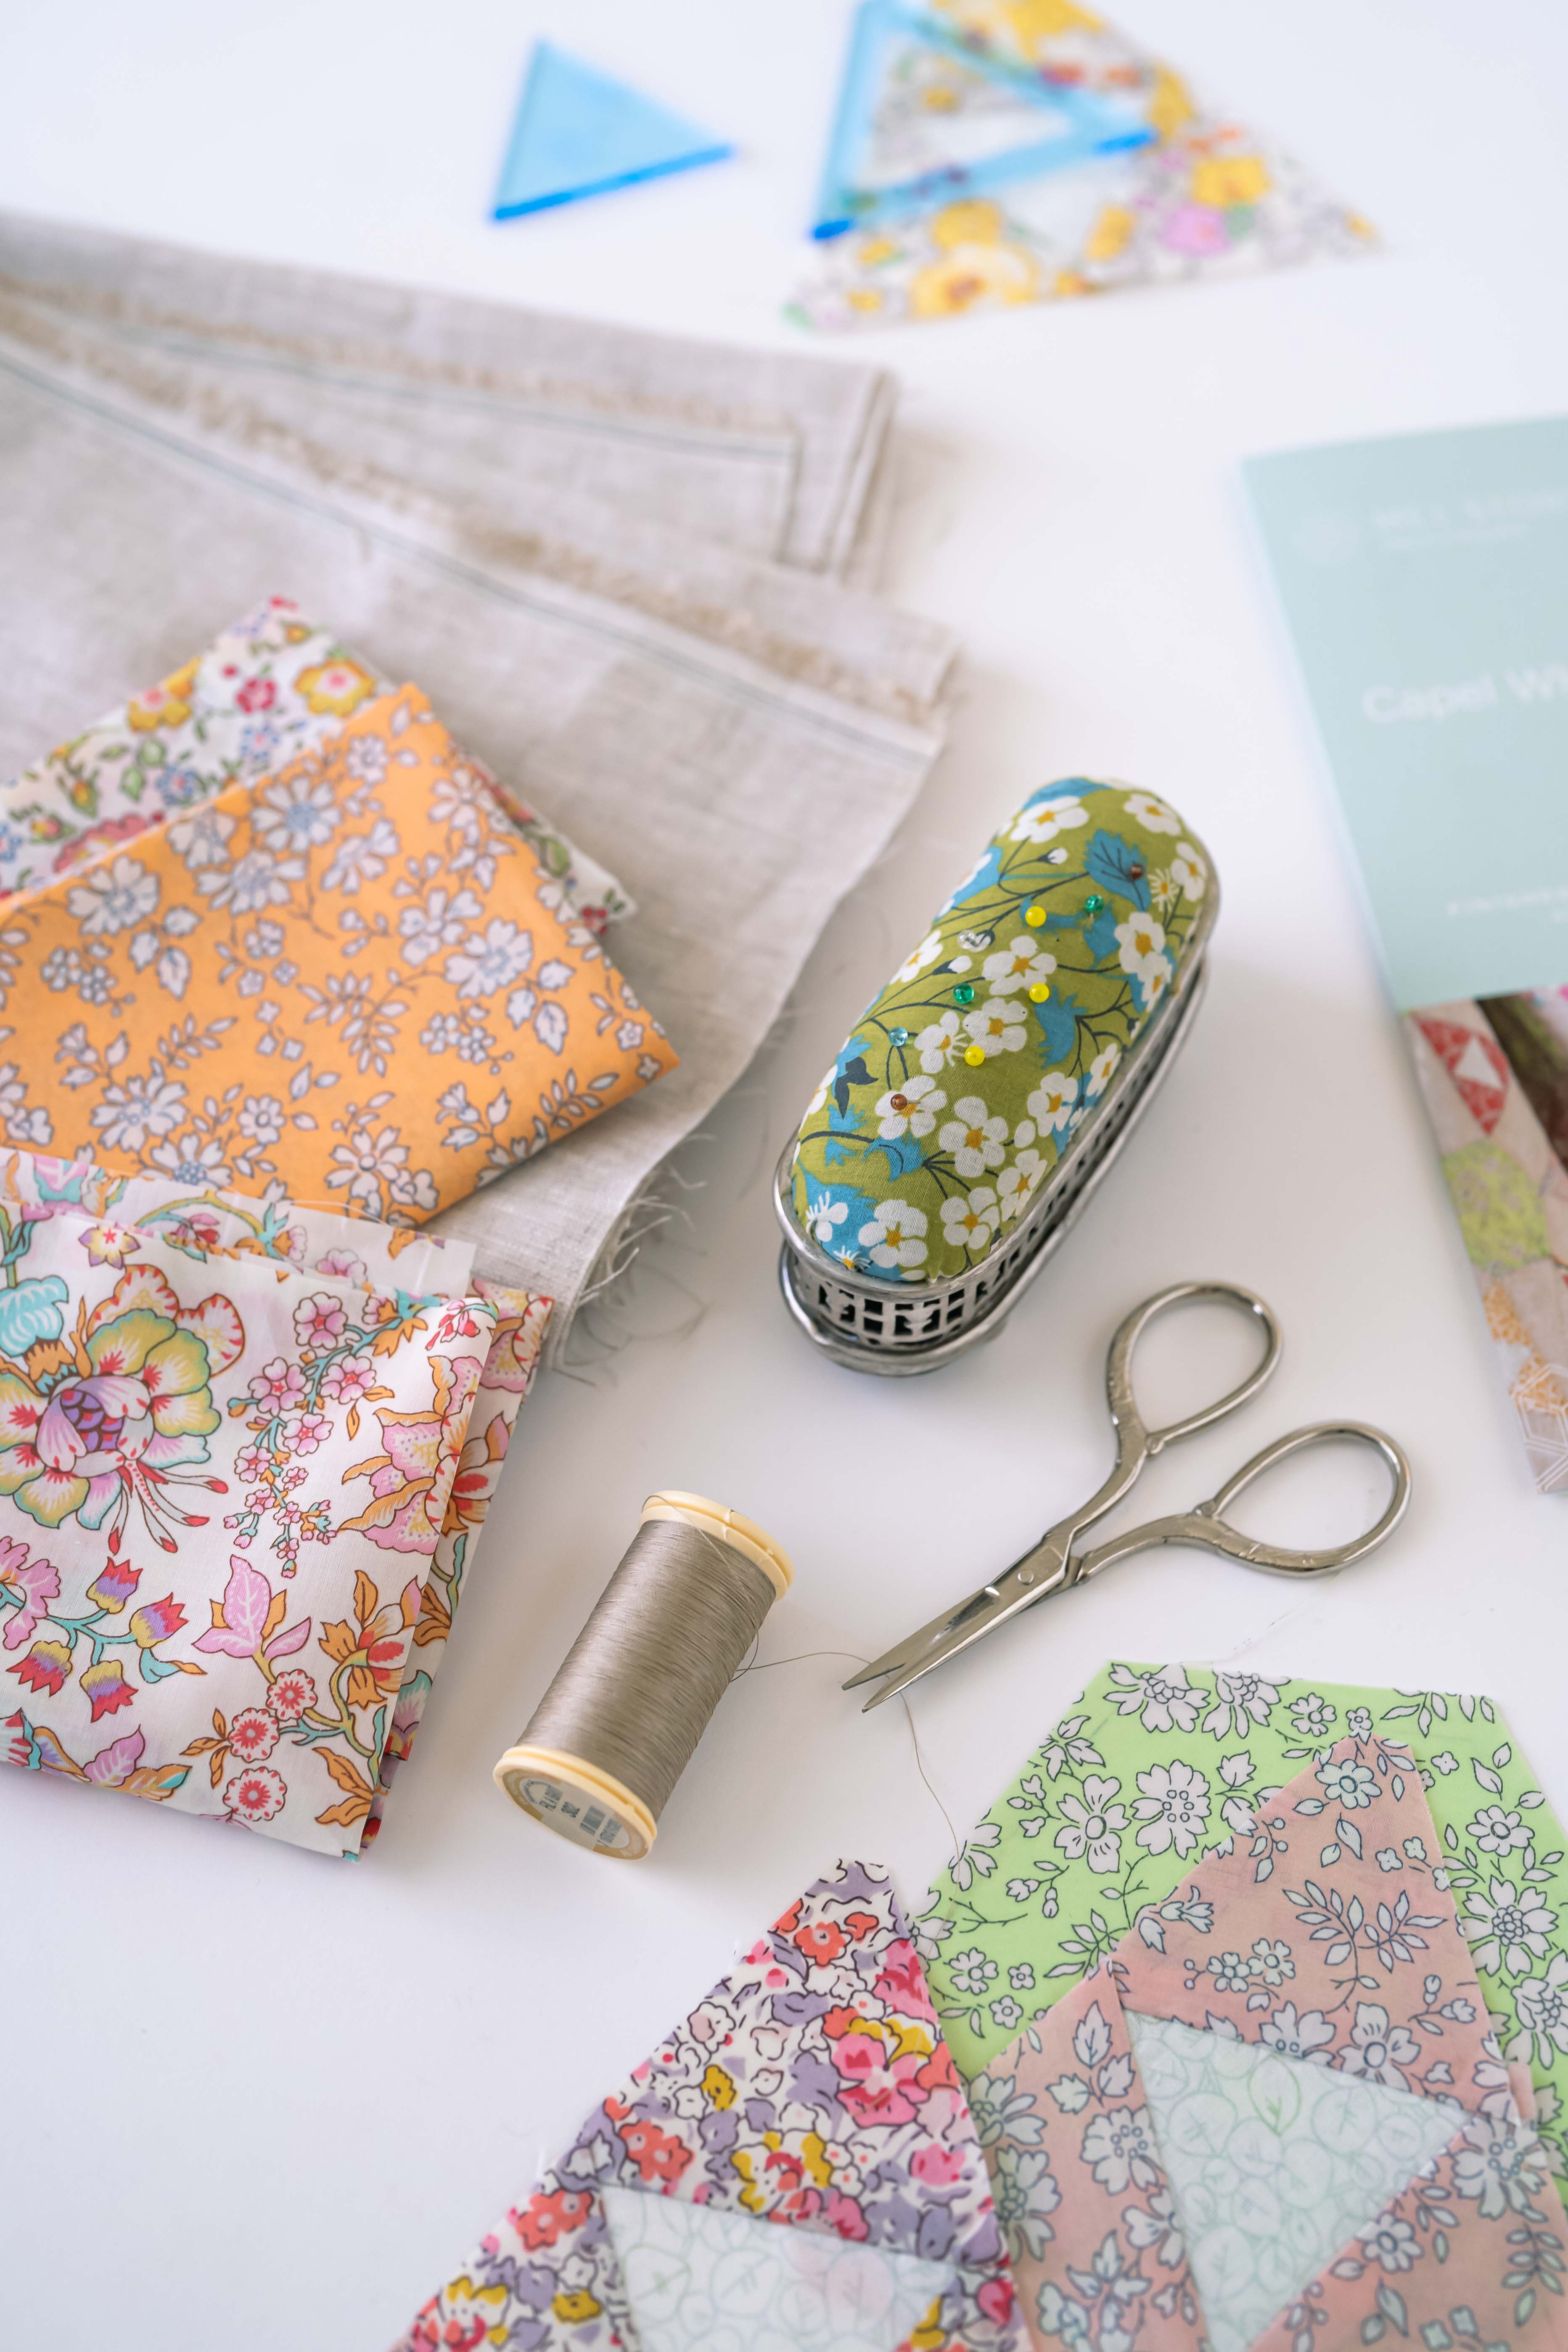
When I looked at a way to streamline things - how could I cut in bulk, multiple pieces at a time accurately? Cutting strips across the width of the fabric seemed the obvious choice. And given my bias towards hand piecing, add to that a template with a removable seam allowance so that I could mark my sewing lines easily - what’s not to like..

Why a template with a removable seam allowance?
Being able to easily remove your seam allowance from the template is ideal for hand piecers.
Traditional acrylic templates with the small holes to mark points were really made with machine piecers in mind, where the edges of the cut pieces were the important part and sewing lines weren’t a consideration.
For hand piecers - it’s all about the sewing lines
Trying to get your pencil into the small holes of the traditional templates gets a bit old and when you are using linen, it really isn’t that accurate. Add to that lining up your points to mark the sewing lines - well it’s fiddly. The pencil can stretch and distort the fabric - over exaggerating the shape and ultimately you’ll end up with a distorted block size. Add up this variance across the width of a quilt - especially when you are piecing small shapes and this results in a big size difference and is a nightmare if you are following a pattern that has multiple pieced borders that require you to have the correct measurements going forward each time.
What’s so great about my templates?
-
Save time in the cutting process
Attach the seam allowance to the main part of the template with a piece of tape, layer your strips of fabric and you can rotary cut multiple pieces at once with the added advantage of giving machine piecers an accurate seam allowance.
So how much time will you save? - if you’ve got a sharp blade, you can cut 6 hexagons at a time. Anything with a curve - probably 4 layers at a time. Going down to a 18mm rotary blade really helps with this, especially on the concave curve.
-
Help to avoid stretch and bias, especially if you are using linen
Using my templates with strips of fabric cut across the width of the fabric will allow you to cut pieces that are straight with the grain. This will obviously depend on the shape you are cutting but will ultimately minimise any stretch or bias and set you up for success.
-
Mark sewing lines easily and accurately
For hand piecers, it’s the accuracy of the sewing line that is key.
Being able to simply remove the seam allowance from the template, you now have a template that is easy to hold as you mark your sewing lines.
Not only will this give you accurate points and lines, especially if you are marking on linen, it will help to eliminate any distortion of your lines that could lead you to block size distortion. Remember to use a sandpaper board.

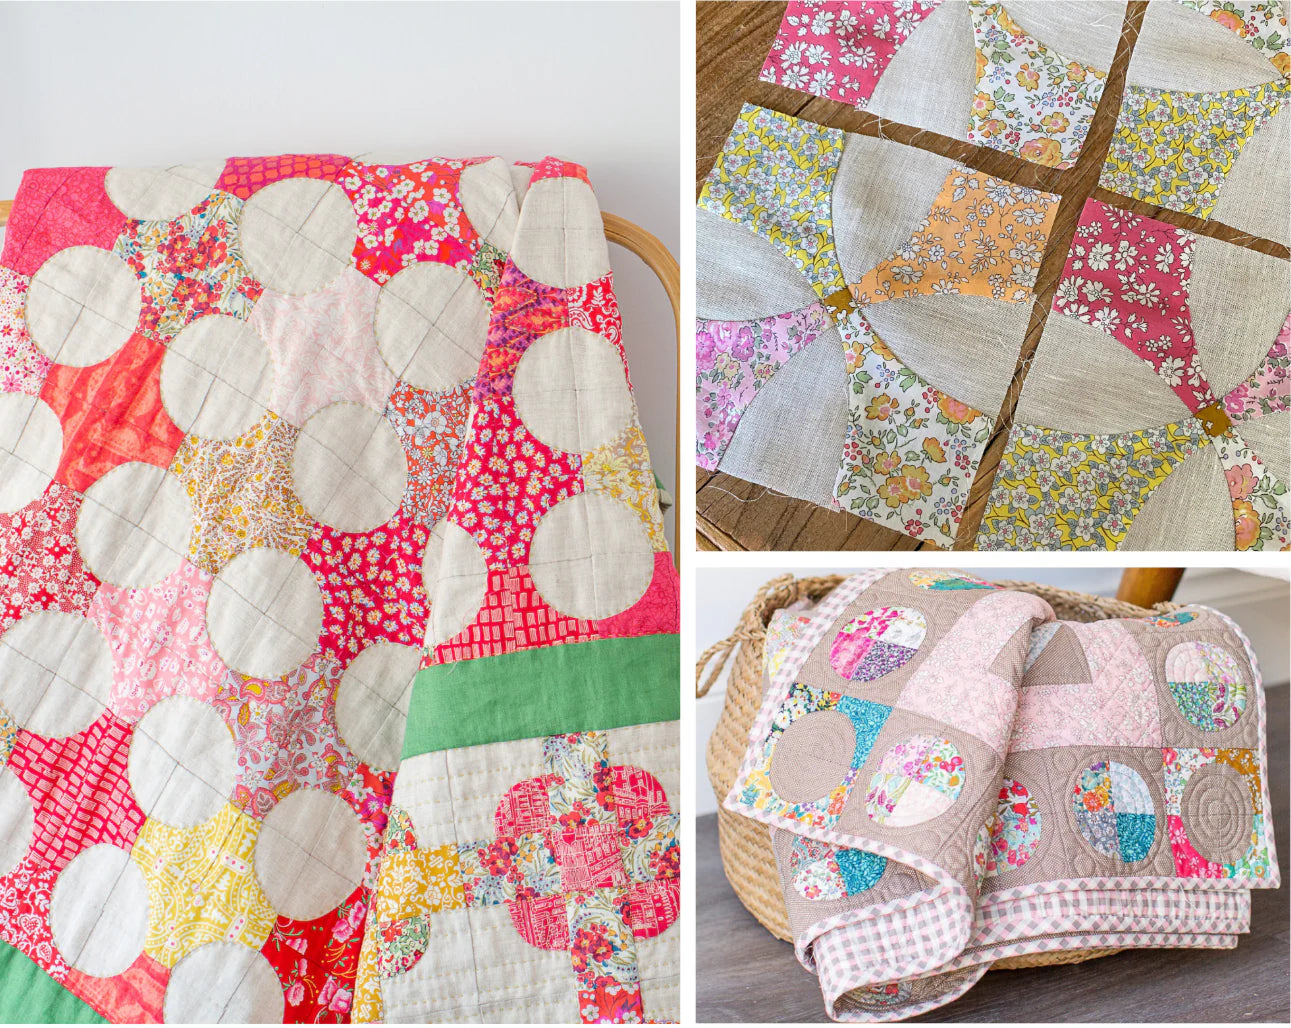
Cutting + marking for curved piecing
Where my templates come into their own is curved piecing.
Imagine..
Cutting curved pieces quickly - especially in a quilt that has a lot of repetitive background pieces like the Flowering Snowball quilt.
Marking sewing lines accurately - so that you end up with the correct block size
Placing your curves on the bias so that they are easy to sew
And having the edges of your blocks straight with the grain.
All great things that allow you to get to your stitching sooner and enjoy the process.
Happy Stitching,
Mel


Leave a comment