
Saving Liberty Quilt
Quilt design is not always straightforward. I’d love to say I have a vision for a quilt before I start cutting but that doesn’t always happen.
With the exception of One Block repeat quilts, like my Flowering Snowballs or Clifton Ties - usually my quilts evolve in a fairly random fashion. It will be a combination of what shape do I feel like sewing at the time or what fabric is my latest crush and is calling me to start cutting.
My Saving Liberty Quilt was a prime example of - shall we call it spontaneous design.
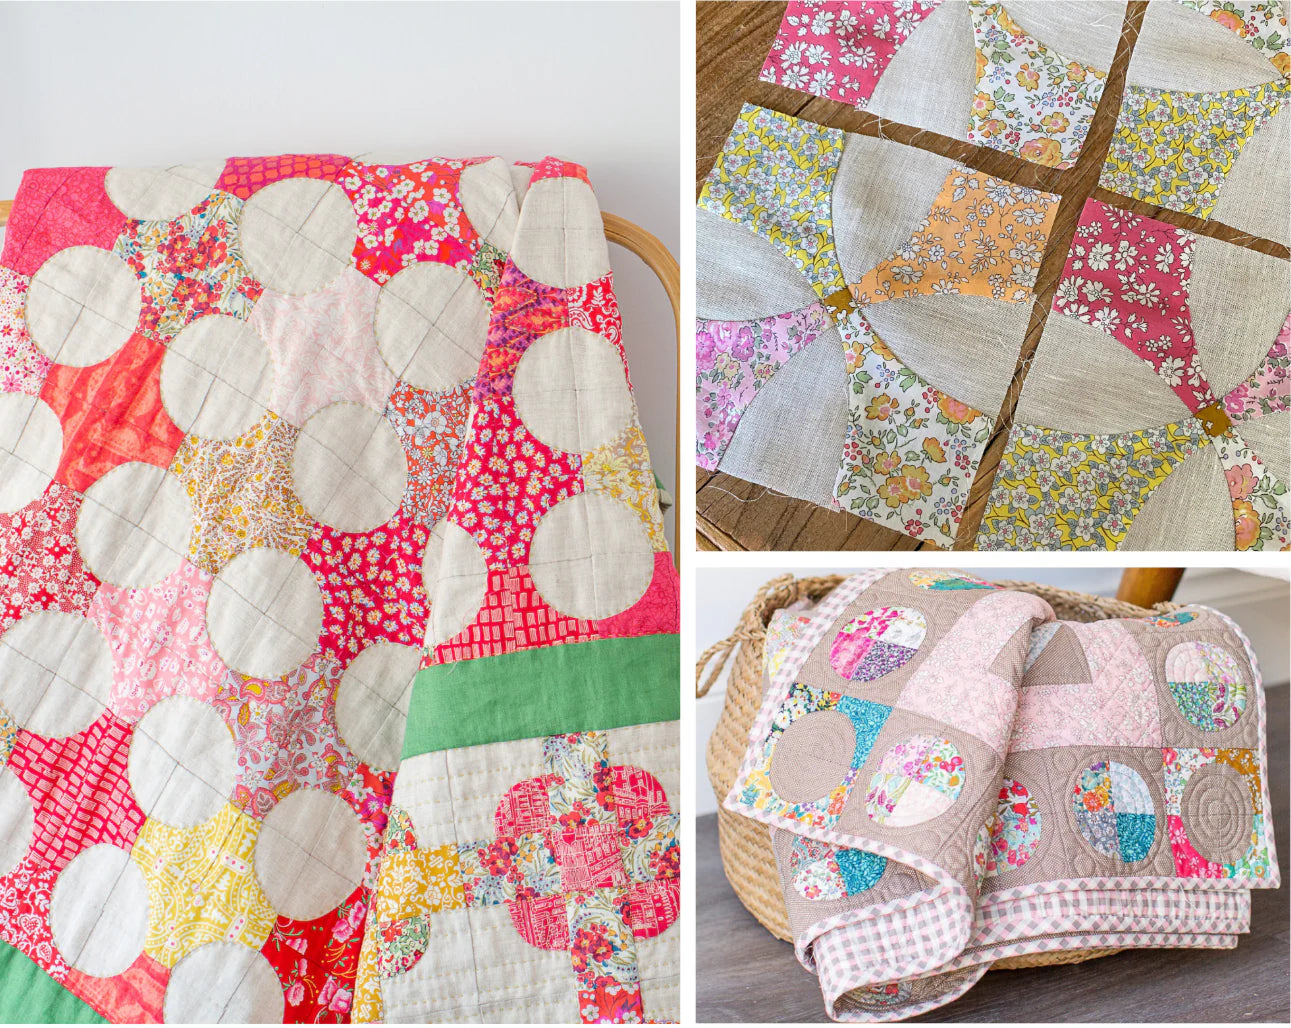
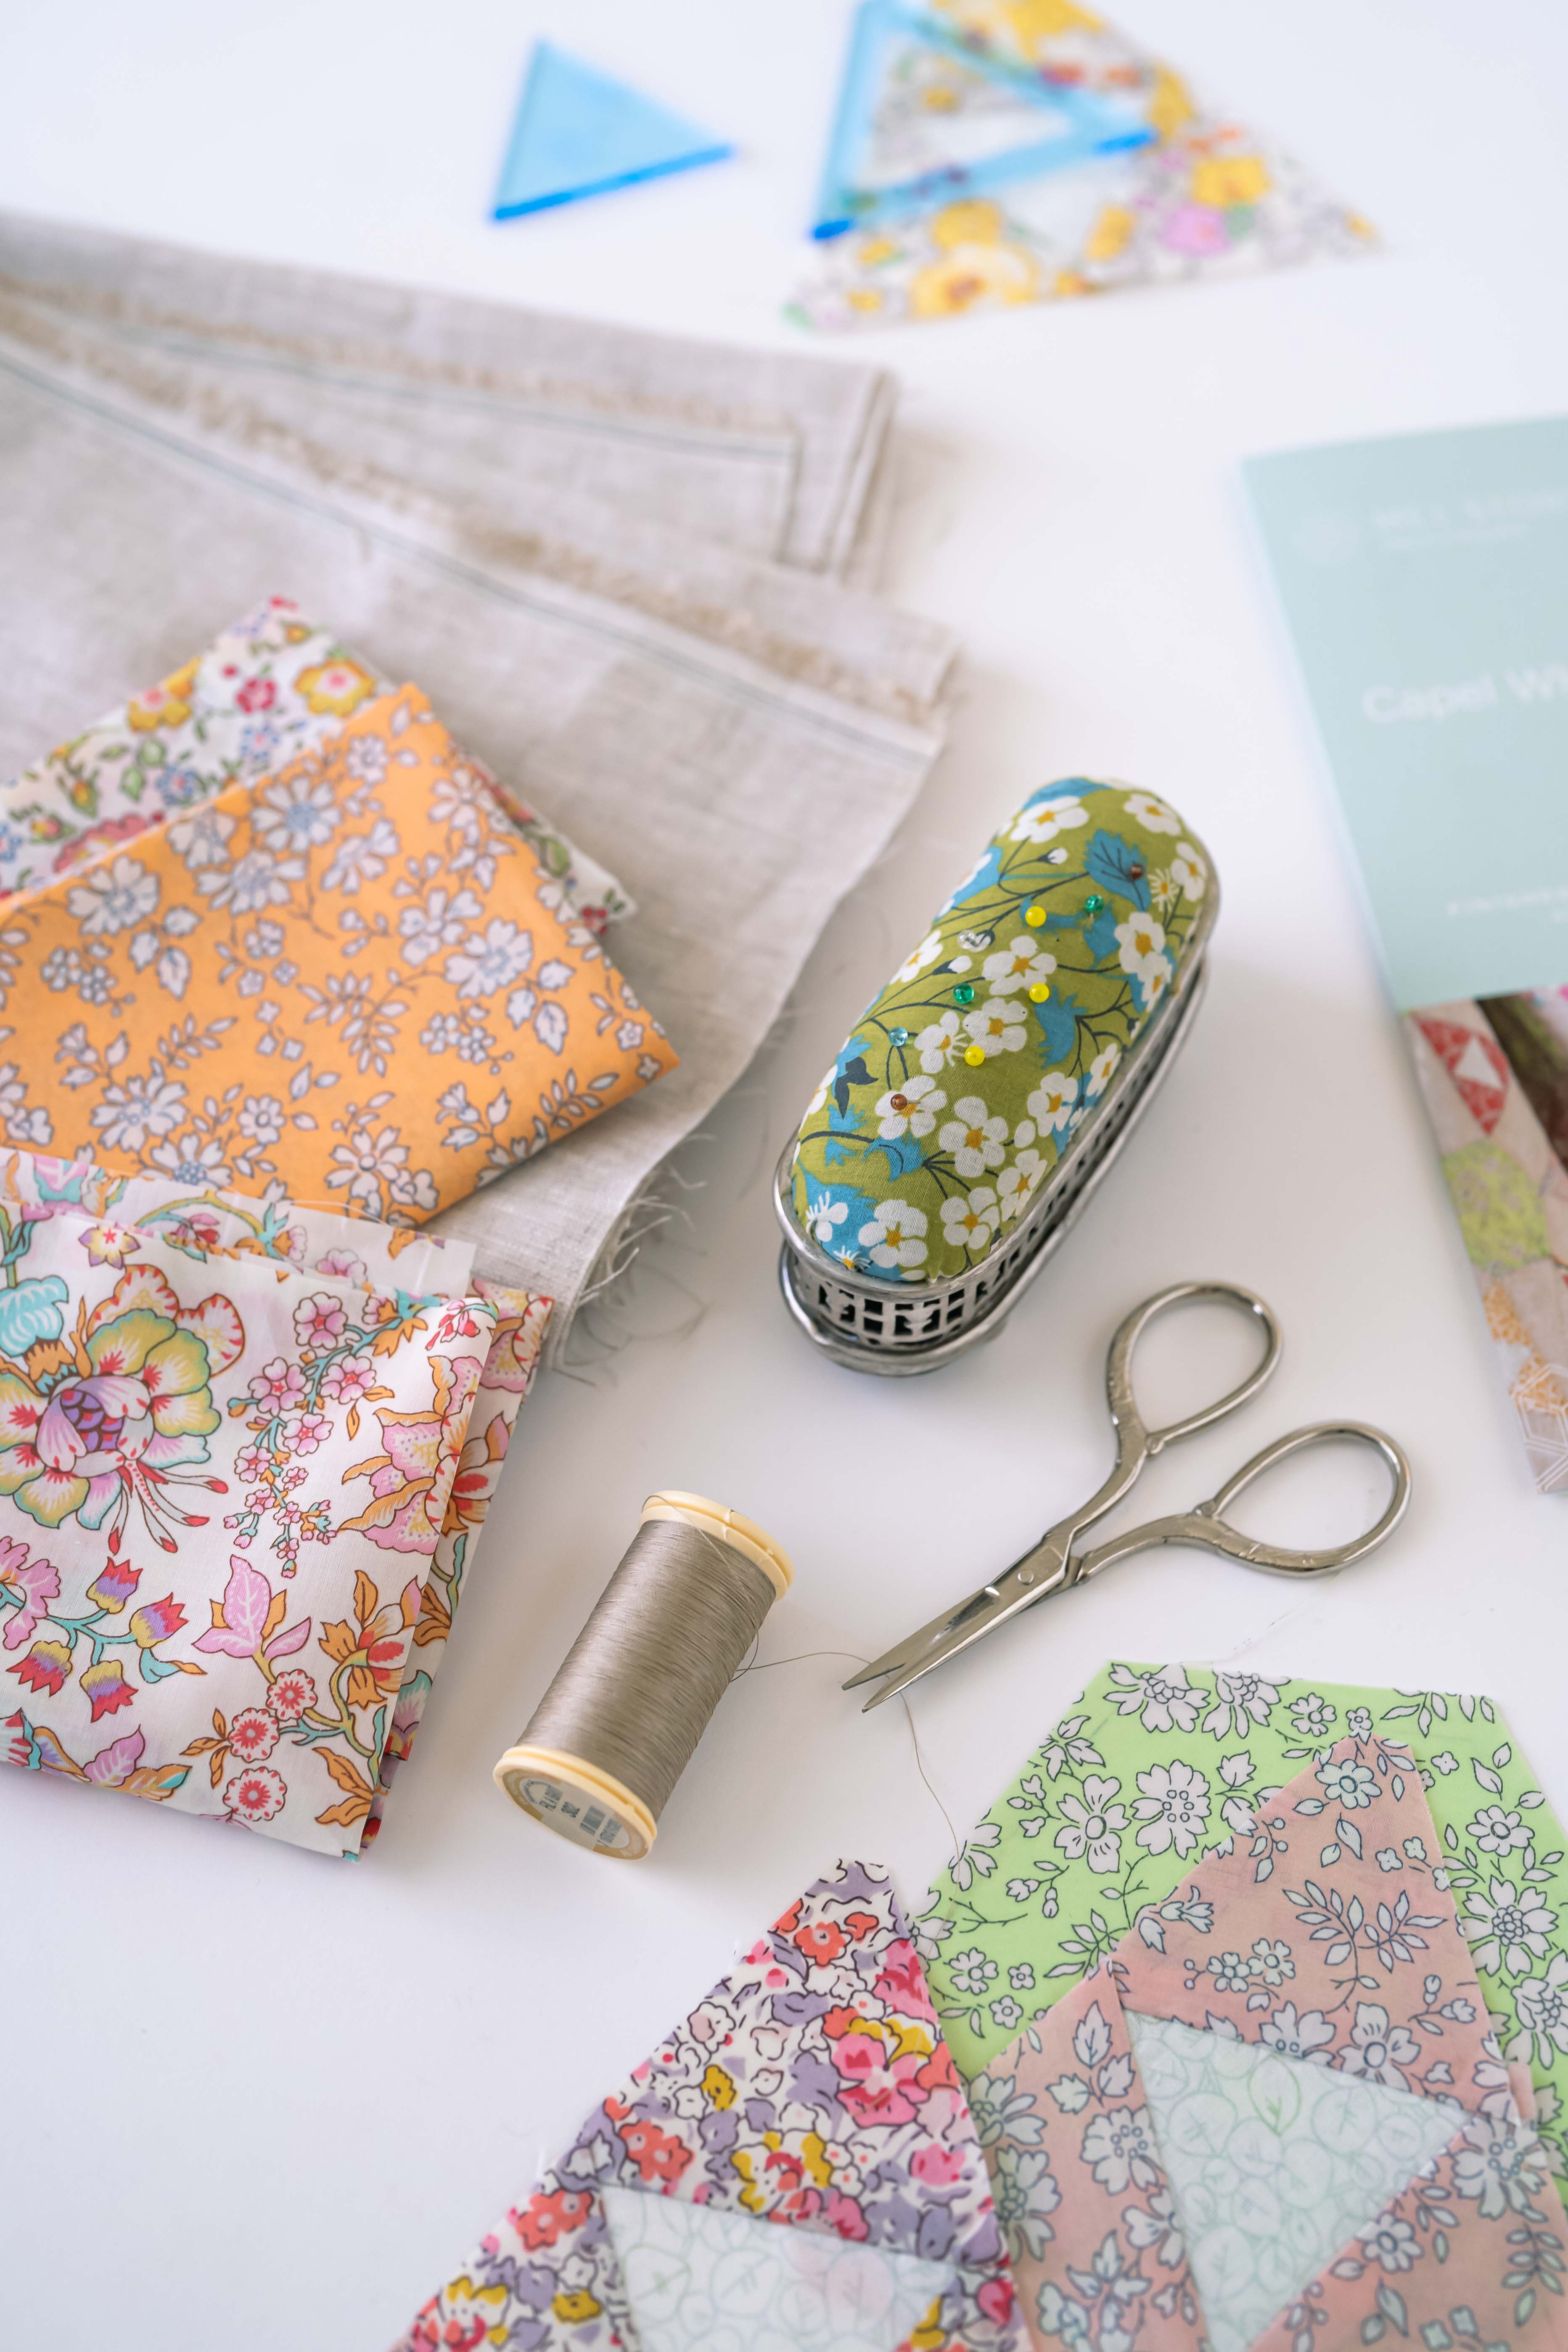
Faced with a pile of odd shaped Liberty scraps that were - in my opinion - too good to throw out, I had to decide how I could showcase them. Still with the curved piecing bug from making my flowering snowballs quilt and no real idea of what was ahead, I started making quarter circle blocks.

I decided that a 2 inch scrap was a good use of the Liberty scraps that i had and combined then with my favourite go-to natural linen to make 2 1/2” quarter circle blocks (2” finished). This grew to be the first border of Saving Liberty.

I love Medallion Quilts - they appeal to my need for symmetry in design. A featured centre followed by a succession of varying borders, they also allow you to have a few different things on the go at once.
It’s important to have choices..
and I figured while I had my hand sewing sorted for awhile with the quarter circles - a quick win was needed. This meant spending some time at my sewing machine. Machine foundation paper piecing is one of the techniques that I’ve grown to love. Sometimes it’s a little wasteful of fabric but you do get spectacular points - it’s quick and you can create some amazing effects depending on the fabric you use.

The centre compass of Saving Liberty was machine foundation paper pieced and I give you instructions in the pattern how to do this. That said if you prefer, you could piece the block by hand - you’ll just have to make some templates from the pattern to cut and mark your pieces.
So, what came next..
The centre compass was set into a beautiful pale pink Capel and joined to the pieced Liberty circle blocks. To keep some continuity, I decided to repeat this pink Capel inbetween pieced borders going forward. Not only is it a divine colour but the Capel print is a little less pattern dense and gives the other Liberties a chance to shine.
I find when a quilt is pattern on pattern on pattern, the design gets a little lost.
Liberty capel solves this problemand is often my go-to when I need a moment of calm in my quilt. It’s a beautiful classic design that comes in so many colours and will often read as a solid in comparison to the other pattern dense Liberties. In Australia, we are lucky to have some of the most beautiful bespoke colours in addition to the classic and organic colourways.

For the next pieced border, I chose a variation of the traditional churn dash block. Distinctive by the length of the bar between the half square triangles, the double wrench blocks were a great way to showcase Liberty prints.
So, why double wrench blocks when I had been on a quarter circle journey?
If you’ve read my blogpost - Give your Quilt the WOW Factor - you’ll know I talk about contrast - in colour, pattern, scale and texture - and how they can in their own way lead to amazing quilt designs.
Contrast in scale - varying the components that make up the quilt, this time, the contrast between quarter circles and double wrench blocks allowed me to continue to showcase the Liberty prints without taking anything away from their individual ‘wow’. Setting them in a darker brown/white micro spot also added some density to these blocks to contrast with the lighter linen background in the blocks that had been sewn so far.
Being slightly bigger blocks with straight piecing meant they came together quickly. They can be machine pieced if you need a quick win.
A final border of quarter circle blocks set in the denser brown/white micro spot tied the whole design together - same same but different.

And did i need a zinger?It’s hard to add a zinger sometimes when your whole quilt is teeming with beautiful Liberty prints. My zinger was a little more subtle in this case and consisted of reversing the fabrics in the corners of the final border of the quilt. Probably not a zing as such, more of a quirk I think - made more beautiful by the amazing quilting by Carol at the Quilter’s Cottage, whose quilting further emphasized the curves in the quilt.
The checked binding and backing I used also served as an amazing contrast in pattern.

Saving Liberty as the name suggests
preserved some divine Liberty scraps. A curation of my Liberty stash at the time if you like.
Standing back from the quilt - which is so important to do when you are making a quilt - you can appreciate the variety of Liberty prints used in Saving Liberty albeit tiny snippets. Some long gone and some very much longed for, as like many Liberty fabric collectors, I keep my fingers crossed that Liberty will reintroduce them in new colourways in the future.
so, the question - what size Liberty scraps do you keep?The answer will vary for everyone. The purists will say - save everything, even thumbnail sized, for you never know if a tiny hexagon quilt will be in your future to take advantage of these tiny scraps.
For me, I’ve hardly made a dent in my stash of scraps making Saving Liberty but going forward, I’m thinking 1” scraps are a good size to keep. I haven’t gone as far as throwing anything out yet but perhaps one day I will look to separating the teeny tiny scraps from the more usable pieces. It’s a start :)
What can you take away from this in your own quilt?
Don’t feel you need to start your quilt from the centre.
Sew the blocks or borders you feel like making at the time.
Combine your hand piecing with some quick wins.
Stand back - and/or take a photo. You’ll see things differently. Is something standing out too much or getting lost. Is it a little too same same?
Contrast is so important.
Ultimately, enjoy the process and relax into your stitching and enjoy the spontaneity of your creative journey.
If you’d like a refresher on quarter circle piecing - take a look at my mini tutorials. They’re yours to watch at your leisure.
Until next time,
Mel


Leave a comment